DIY Wire Flower Sculptures are the perfect way to decorate any space or event! For my first ever blog post, I’ll show you how to make these gorgeous flower sculptures using wire, fabric, and lots of hot glue.
These will be smaller versions of the 5ft flower lanterns I made for my Burning Man camp, Pretentious Fox. (Pictured above in my backyard and at Burning Man)

This summer, I’m getting married to a super awesome guy. He proposed last year at Burning Man, which is an incredible temporary community/art festival in the desert. Burning Man is a special place for us, so we’ve decided to have a 5 day camping wedding in Northern California with a Burning Man theme. In the spirit of art and self-reliance, I decided to hand make all the flowers, including the bridal party bouquets. Since I am a freelancer in between jobs right now, I have sooooooooo much time. (Way too much time.) I made so many flowers, they exploded all over the house! Warning: Making these flowers is super addictive. You may find yourself spending days in your pajamas making flowers like a crazy person and never leaving the house. (See below)

make your own flowers, with wire, fabric, hot glue and paint!
Today, we’ll start with a five petal lily. Next time, roses, then daisies!!

Materials Needed: (Clockwise from top left)
- Fabric
- Wire Cutters
- Pliers (not 100% necessary but definitely recommended)
- Paint Brushes (optional if painting fabric)
- Thick Wire for stem
- Thinner Wire for petals
- Glue Gun
- Paint (optional)
- Scissors (not pictured)
The thin wire is 18g. The thick wire needs to be able to support the weight of your petals. Use your best judgement.. Below, you can see a detail shot of the wire I’m using. The thick wire doesn’t need to be coated; this was the thickest wire at my local hardware store. They have amazing aluminum artists’ wire at the art school but that stuff is pricy and I am making these babies in mass quantities!

This green wire works fine. It’s bendy, which I actually like, but it you want more support or flowers that stand perfectly upright, then look for thicker wire (It can be found at Home Depot).


This green wire works fine. It’s bendy, which I actually like, but it you want more support or flowers that stand perfectly upright, then look for thicker wire (can be found at Home Depot).First, take the spool of wire and measure out the length of your petal. Double that amount to make a circle, then add a few extra inches before cutting.
You can use the pliers to bend the very ends of the wire if it’s too difficult by hand, but if you leave enough length to wrap the wires around each other in a coil, it is doable. Once your ends are secure, use your hands to finish shaping your wire into a lily petal shape.


Next, lay your wire frame onto the fabric of your choice. Here, I’m using white fabric for the petals I paint, and a silver sequined lace for the petals I’m not painting.
At the top of the petal, put a dollop of hot flue on the edge of the frame and fold the fabric over, pressing down. Continue glueing the length of the petal and folding the fabric over.
When you’re finished glueing the fabric, carefully trim the excess and your first petal is done!! Just four more petals and you will have your first DIY Wire Flower Sculpture!
I usually make a few flowers at once. It’s easier for me to shape out 5 flowers worth of petals, then glue all the fabric, then paint some of the petals. And it’s soooo satisfying when you have enough for a bouquet of these! I’ve made 30 and counting. I think I have a problem.


Now it’s time to paint the white petals. Pick a few colors you think will be fun. Don’t worry if you mess up- gold spray paint fixes everything.


For the base color, I usually use a wide, fan paintbrush. Here, I’ve chosen a dark copper as the main color. Dilute the paint with a bit of water if it doesn’t spread easily. Make sure to flip the petal over! Get in those edges too!


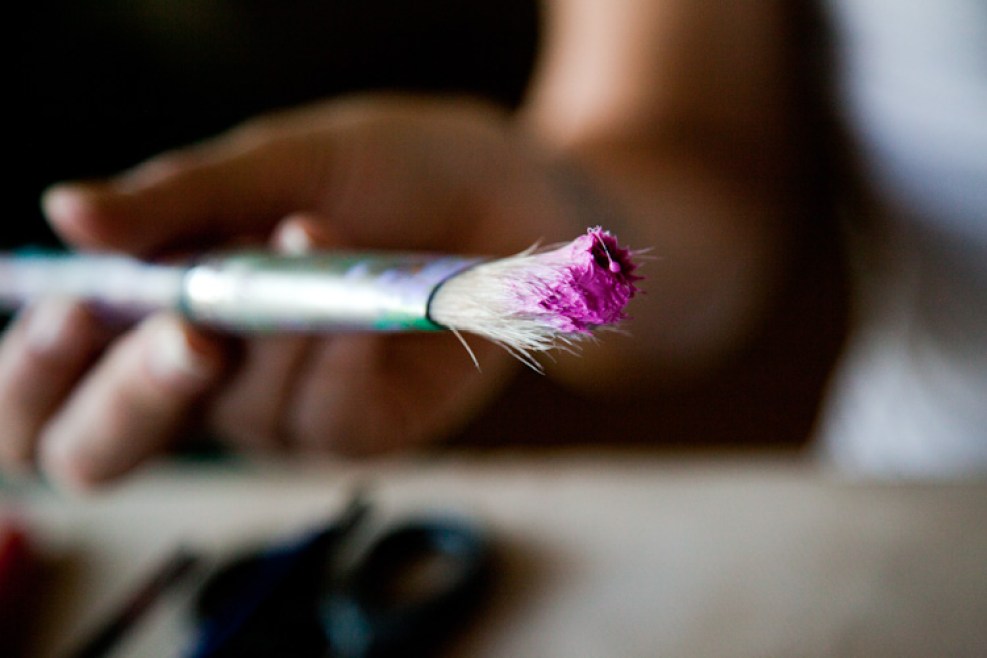
For the center of the petal, I chose a bright pink to brighten them up. I use a thicker, but more narrower brush for the highlights. I started with a pink stripe down the middle.


I added some purple along the pink stripe for a little more dimension. Then, the trick is to blend the edges.


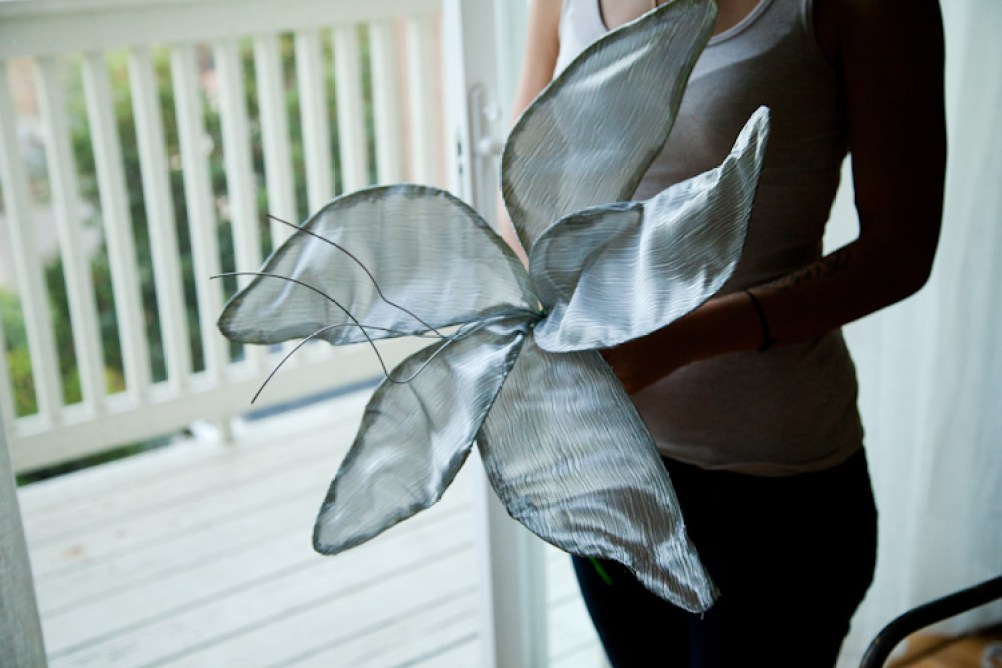
I like to make a bunch of flower petals at a time so I have something to do when waiting for the paint to dry. I can then move on to making flowers with petals that need no paint. Like the shiny, silver beauty above. Until then, stay tuned for Wire Flower Sculptures, Pt. 2, where I’ll show you how to assemble the flowers!


Hi, this is a comment.
To delete a comment, just log in and view the post's comments. There you will have the option to edit or delete them.
thank you, mr. wordpress!
I love your blog!…I’m going to show this to Anne, it’s right down her alley, Your flowers are beautiful! I just did a quick read-through, I’m going to have to go back over it and take notes to sit down and try this myself.
Hi Amythyst! Thank you so much for reading this! I’ve been wondering if/when I’ll get to see someone make them. Feel free to call or write me with questions and tell the girls I say hi! 🙂